
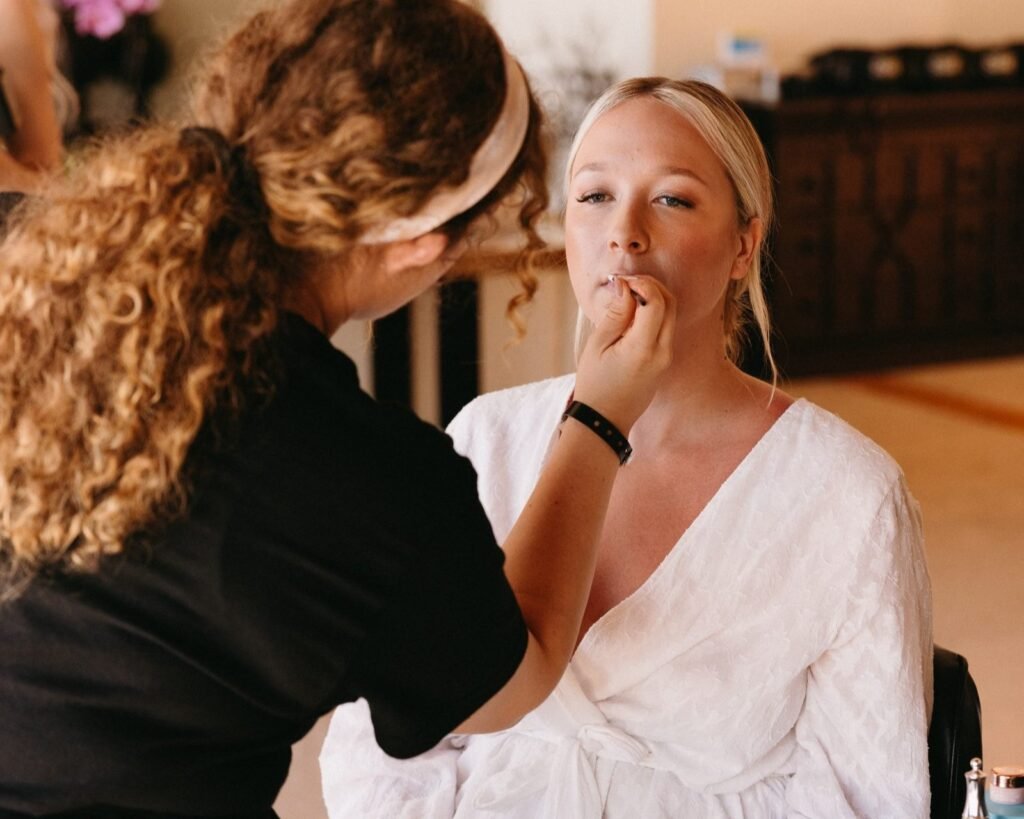
Makeup that looks smooth at 9:00 AM and settles into lines by the ceremony is one of the most common worries I hear from brides, mothers of the bride, and mothers of the groom. Textured skin has real character, and the right technique lets that character show up as natural, radiant skin instead of fighting it with heavy coverage.
In short, long-wear makeup for textured skin works best with thin layers, a primer used sparingly, and setting product placed only where skin tends to shine. I am Brittany Brown, a mobile bridal hair and makeup artist based in Orange County and serving San Diego. In 11 years of working with brides, models, and everyday women, I have learned that the result comes down to a handful of choices: how you prep, how you layer, and where you set. This guide walks through each one, so you know what to expect before you sit in my chair.
Why Textured Skin Needs a Different Long-Wear Strategy
Textured skin can mean fine lines, visible pores, dry patches, or uneven areas that catch light. Every skin type has texture to some degree, and it often becomes more noticeable on camera and in bright Southern California light. Heavy, thick formulas that look great on smooth, younger skin can settle into fine lines or feel heavy on more mature complexions. That is why I do not use one fixed approach for every client. If settling is your biggest concern, my post on avoiding makeup that settles into fine lines goes deeper on it, and bridal makeup for acne scarring and uneven texture covers texture that comes from other causes.
My philosophy has always been to enhance, not mask. Trying to cover texture completely usually backfires, because thick layers collect in the very places you want to soften. A lighter, more deliberate approach looks more natural and tends to stay comfortable through a long day.
Mature makeup is a specialty of mine, and it is work I love. As I have said in interviews, “I also love to do mature makeup. I love to make moms, aunts, grandmas…etc feel beautiful and special as well.” If you are in that group, bridal makeup for mature skin: what works and what to skip is a good companion read. Corrective beauty makeup is another strength, and it comes naturally to me. I have also found that little subtle changes on the skin can be very powerful, and that is especially true on textured skin.
Coastal weather adds another layer to the plan. Humidity, sea air, and direct sun all affect how makeup wears. A bluff-top ceremony in Corona del Mar, a resort wedding in Newport Coast, or a waterfront celebration in San Diego each calls for slightly different product choices. I plan around your venue, your skin, and your timeline instead of repeating the same routine.
Three challenges come up most often with textured skin:
- Settling: Product can collect in fine lines and around the eyes and mouth as the day goes on.
- Uneven finish: Dry areas can look patchy, and oilier areas can look shiny, sometimes on the same face.
- Heaviness: Too much product can look mask-like and feel uncomfortable during a long celebration.
Makeup can change how skin looks, but it does not change the skin itself. If a skin condition worries you, a skincare professional is the right person to ask, and I am glad to work with whatever your skin looks like on the day.
Techniques That Work
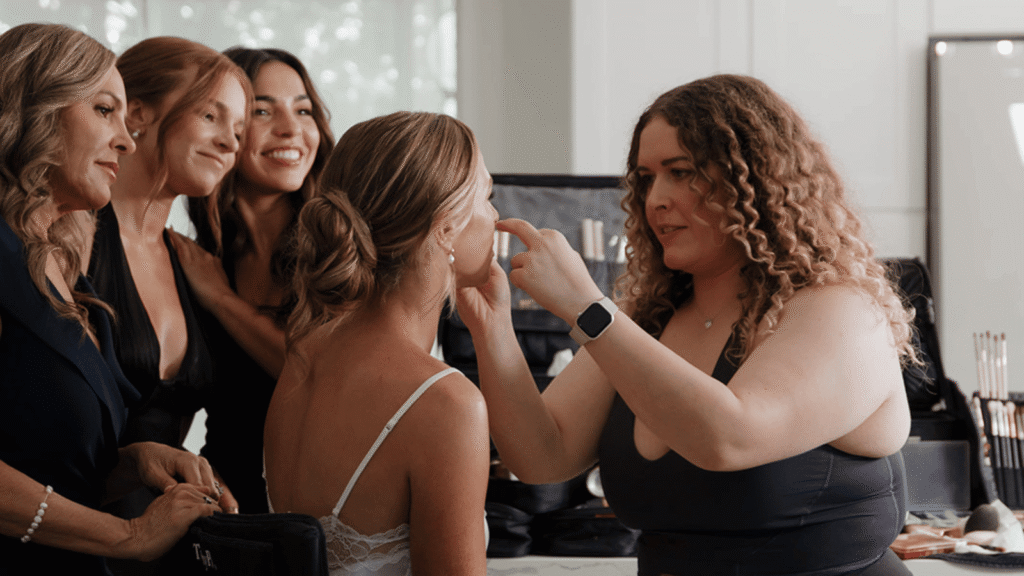
The techniques below reflect how I approach textured skin for bridal clients and for mothers of the bride and groom. Product choices change from person to person, so I never use a single formula for everyone. I also do not make promises about any specific product, because your skin and your venue decide what works best.
Priming to Smooth Without Filling
Skin prep sets up everything that follows. I start with skincare and primer, and I never rush this step. A well-prepared surface helps makeup sit more evenly and look more like skin.
Here is how I think about priming for textured skin:
- Hydrate first. Dry skin makes texture look more pronounced, so I begin with skincare that leaves your skin comfortable, not tight.
- Choose primer with purpose. A smoothing primer can soften the look of texture, and I place it where you need it most instead of covering the whole face with a thick layer.
- Let each layer settle. Rushing from one product to the next can make the base look patchy. A short pause lets each layer sit before I add the next.
- Use less than you think. A thin, even layer of primer works better than a heavy one, because excess product fills lines instead of smoothing them.
Prep at home matters too. Start a consistent skincare routine at least four weeks before the wedding, and skip new skincare products or treatments in the final 10 days. Drink plenty of water in the week leading up to the event, especially in summer. These are everyday care habits, not medical advice, so talk with your own skincare professional if you have specific concerns about your skin.
Layering for Coverage Without Cracking
Thin layers beat one thick layer every time. Layering lets me build coverage only where you want it, which keeps the finish light and keeps your skin looking like skin.
My approach looks like this:
- Start with a light base. I apply a thin layer of foundation and look at the result before adding more. Many clients need less than they expect.
- Build in targeted areas. If a spot needs more coverage, I add a small amount and blend it outward. I avoid stacking products across the whole face.
- Choose the right textures. Cream and fluid formulas can look more natural on textured skin than very dry, matte products, though it depends on the person. Heavier textures can settle into lines, so I choose carefully for each client.
- Use corrective techniques where needed. Corrective beauty makeup relies on color and placement more than on volume. A well-placed correction can calm redness or soften shadows without a mask of product.
- Add glow with care. Radiant, healthy-looking skin sits at the heart of the no-makeup-makeup look. I place soft highlights on the high points of the face and keep shimmer minimal, since large flecks of shimmer can emphasize texture.
Shade matters as much as texture here, because the wrong match makes any base look heavier. Choosing the right foundation shade for your wedding day explains what to look for. For mature clients, mature skin makeup: building coverage without looking heavy walks through the layering idea in more detail, and best foundations for mature skin in 2026 is useful if you are comparing formulas. If you are curious about the color-correcting side, corrective makeup: what it is and who it’s for explains it.
For longer events, formula layering also helps makeup hold up during sustained wear, and I use that same technique in my commercial and production work, where makeup has to stay put through hours of shooting.
Setting Selectively
Setting powder keeps makeup in place, but too much of it can make textured skin look dry and emphasize lines. I set it selectively. That means I place the product only where your skin tends to produce shine, such as the center of the face, and leave drier areas lighter.
A few principles guide my setting work:
- Target the right zones. Areas that tend to shine get more setting product. Areas around the eyes and cheeks, which often show texture, get less.
- Press instead of sweeping. Pressing the product into the skin with gentle pats helps it sit smoothly. Heavy sweeping motions can disturb the layers beneath.
- Finish with a sealing step. Final setting techniques lock the look in place for durability through the ceremony, photography, and reception.
- Leave the skin looking alive. A completely flat finish can age the face. I aim for a soft, natural finish that still looks like healthy skin.
I cannot promise that any look will last without a single touch-up, because no honest artist can. What I can do is choose professional products suited to Southern California conditions and to your skin, prep without rushing, and finish with setting techniques designed for durability.
Touch-ups deserve a light hand on textured skin, too. If shine shows up midday, blotting first and adding powder only if you still need it keeps the finish from building up in lines. That is why the blotting sheets in your touch-up kit come before the powder.
What to Expect Through a Full Wedding Day
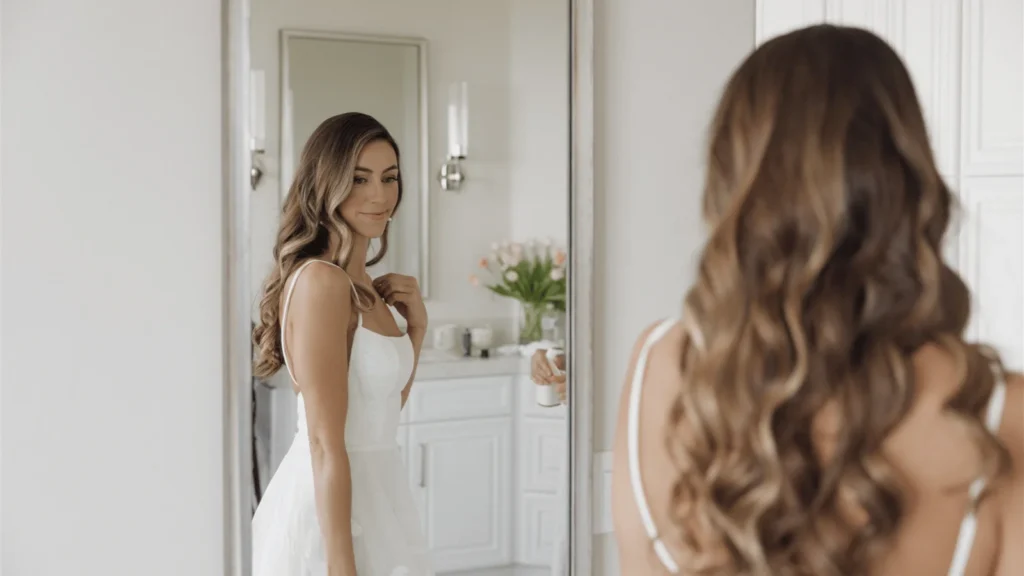
On the wedding morning, my goal is to keep things calm and unhurried. Because I travel to you, you skip the salon commute, your bridal party stays together, and the timeline stays intact. Here is how the process typically unfolds.
Arrival and setup: I arrive at your chosen location, whether that is a hotel suite, private home, or estate, with a complete professional kit. I bring my own studio-quality lighting and seating, so your getting-ready space never limits the result. Setup takes about 15 to 20 minutes.
Skin prep and base: We start with skincare, primer, and base preparation. This step carries the whole look, so it never gets rushed.
Application: I apply your look with professional products suited to Southern California heat, humidity, and sea air, and to your specific skin. We follow the plan we tested at your trial, so nothing surprises you.
Setting and sealing: Final setting techniques lock everything in place for the full day.
Touch-up kit: Every bride receives a complimentary touch-up kit with lipstick, powder, and blotting sheets, so a quick refresh stays easy through a long day.
For timing, I plan roughly 60 to 90 minutes for the bride and 45 to 60 minutes per bridesmaid. Mothers of the bride and groom are part of the same morning, and I plan their time during booking. For larger parties, I bring additional artists so everyone finishes on time, without cutting corners on the bride’s application.
Mothers, aunts, and grandmothers are often the people who most want a look that feels like them. I design for that. Skin that looks fresh, comfortable, and like yourself, but elevated, photographs beautifully and still feels familiar when you catch your reflection. If you want to see how my work translates on camera, my portfolio shows examples of my bridal and editorial looks.
Plan Your Long-Wear Makeup
Start planning once your wedding date and venue are confirmed. Spring and fall weekends in Orange County and Newport book quickly, so early booking is recommended. If you’re comparing artists, review these questions to ask before hiring a bridal makeup artist.
A bridal makeup trial lets us test products, assess how they wear on your skin, and make adjustments before the big day. Share any skin sensitivities or recent treatments in advance. These guides can help you prepare: how to talk to your makeup artist about skin sensitivities and what happens during a bridal makeup trial.
Learn more about my experience and training on the About page or explore services on the Brittany Brown Beauty homepage.
Ready to plan your wedding-day look? Contact Brittany Brown Beauty with your date, venue, and makeup preferences to discuss your vision and check availability. Your date is secured with a signed contract and deposit.
Frequently Asked Questions
The core steps stay the same: prep, application, and setting. The difference lies in the choices within each step. Textured skin usually needs thinner layers, textures that do not settle into lines, and selective setting instead of heavy powder. I adjust the product and technique for each client, because formulas that look great on younger skin can look heavy or settle into fine lines on more mature complexions.
The best products depend on your skin, your venue, and the weather on your wedding day, so I choose them individually instead of using one formula for everyone. In general, I look for a smoothing primer used sparingly, a lightweight base built in thin layers, and setting product placed only where you need it. I also pick professional products suited to Southern California conditions. Your trial shows us how each product behaves on your skin before the wedding.
Reach out as soon as your venue and date are confirmed, since spring and fall weekends book well in advance. I secure dates with a signed contract and a deposit, and we set the trial date together during booking. If you are marrying in a peak season in San Diego season, booking 6 to 12 months ahead gives the trial and the wedding day both plenty of room on the calendar.
Start with careful prep, a consistent skincare routine for at least four weeks before the wedding, and plenty of water in the week leading up to it. On the day, I use thin layers, a smoothing primer placed with purpose, and selective setting. I cannot promise that any look will last without a touch-up, but this approach gives your makeup the best foundation, and every bride receives a complimentary touch-up kit with lipstick, powder, and blotting sheets.
Schedule it well before the final 10 days, when you should avoid new skincare products or treatments, so the trial reflects the skin you will actually bring to the wedding. An earlier trial gives us room to test different textures, adjust your base, and look at the result in different light. Bring your dress details, your inspiration photos, and any questions about how your skin behaves in heat or humidity.