
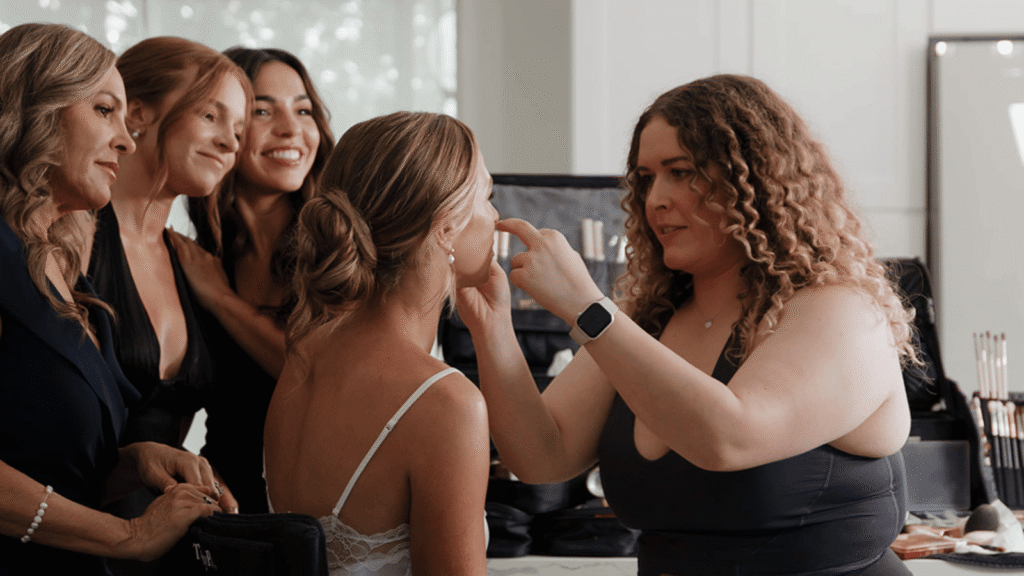
Glowing skin is one of the most requested looks in bridal makeup, and highlighter is a big part of how it happens. Placed well, it makes your skin look fresh, lit from within, and soft on camera. Placed poorly, it can look shiny, patchy, or distracting in photos. With more than 11 years of hands-on experience as a bridal makeup artist in Orange County, I have seen both outcomes, and the difference often comes down to where the product goes and how it is applied.
At Brittany Brown Beauty, I believe in enhancing your natural beauty rather than masking it, and highlighter is one of my favorite ways to do that.
This guide walks you through where the highlighter belongs, why placement matters in front of a camera, and how to avoid common problems that show up in photographs.
Why Highlighter Placement Matters More on Camera
Highlighters work by catching light. In person, that can look like a soft glow. In a photograph, especially with flash, bright sunlight, or a high-resolution camera, the same product can appear much stronger than it does in the mirror. A little too much product, or too much in the wrong place, can turn a glow into shine. If you want to understand why this happens, read why bridal makeup looks different in photos and how to get it right.
That is why I think about the camera from the very first conversation. Camera-ready skin means a look that holds up in the way your photographer will capture it, not only in the bathroom mirror on your wedding morning. Your day will include portraits, candid moments, and photographs in different lighting conditions, from shaded getting-ready rooms to open outdoor spaces.
The venue matters, too. Harbor-reflected light, direct sunlight, and studio lighting can affect how your skin and makeup appear. My guide to Balboa Island wedding makeup and preparing for harbor light explores how coastal light can influence a bridal look. For a more technical look at color accuracy under controlled lighting, you can also read pigment control: keeping makeup colors true under studio lighting.
Placement also shapes your face. Highlighter draws the eye to the area where it sits, so I use it to emphasize the features I want to bring forward. Used with care, it supports the no-makeup-makeup look, where your skin looks like skin, only polished. Many brides tell me they want to feel like themselves on their wedding day, and I always keep that in mind. The goal is a glow that looks like you, but elevated.
Here is a quick checklist of what good highlighter placement should achieve:
- Look soft and blended, with no visible edges.
- Sit on the high points of your face where light naturally falls.
- Support your natural features instead of covering them.
- Suit your skin, your dress, and your venue lighting.
- Photograph as a glow, not as shine.
Where to Place Highlighter
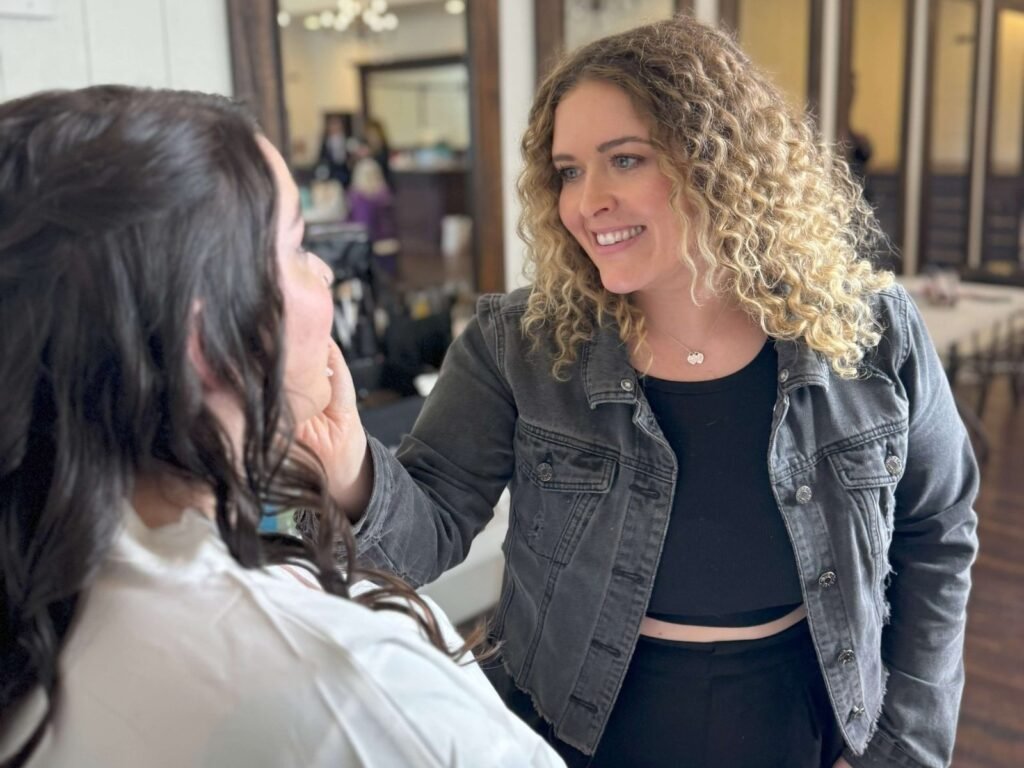
Every face is different, so I adjust placement for each bride. Still, a few areas work well for many looks. Treat the following as a guide for the conversation we will have at your bridal trial, where I can test the products and techniques directly on your skin.
Highlighter is only one part of a balanced base. If you have specific concerns such as redness, discoloration, or uneven skin tone, my guide to corrective makeup and who it is for explains how targeted techniques can help create a more even-looking complexion without applying unnecessary coverage everywhere.
Cheekbones and Brow Bone
The tops of the cheekbones are the classic spot for highlighter because this is where light naturally lands. I place it on the high point, just above where a warm, soft contour sits, and blend outward so there is no hard line. Warm, bronzed contour paired with a soft glow on the cheekbones gives your face dimension without heaviness.
The brow bone is a smaller area and deserves a lighter touch. A subtle amount just beneath the arch of the brow can open up the eye area and add polish. I use less here than many people expect because the brow bone sits close to the eye and can look shiny very quickly under bright light.
Here is what to keep in mind for both areas:
- Apply highlighter to the high points only, not across the whole cheek.
- Blend the edges until they disappear into the skin.
- Use less product on the brow bone than on the cheekbones.
- Check the look in natural light before deciding it is finished.
If your skin tends to get oily, especially across the forehead, I pay extra attention to where the glow sits. A glow on the cheekbones can look beautiful while excess shine across the forehead may be distracting in photos. I place each product with that difference in mind.
Your skin tone and undertone also influence how the finished look comes together. I consider those details when choosing complementary blush, contour, and highlight shades so the result looks balanced rather than overly warm, cool, or metallic.
Cupid’s Bow and Inner Eye Corner
These are small areas that can make a visible difference. A touch of highlighter on the cupid’s bow, the dip at the center of the upper lip, adds subtle dimension and helps define the lips in photographs. A small amount at the inner corner of the eye can brighten the eye area and make you look more rested.
Both spots need a light hand. The inner eye corner is delicate, and too much product can look stark in a close-up photograph. The cupid’s bow works best with a tiny amount that blends into the surrounding skin.
A few points to remember:
- Use a small amount and build only if needed.
- Use a small, precise brush or a fingertip for control.
- Blend until the highlight looks like a natural reflection of light.
- Skip the area entirely if it feels like too much for you. Your look should feel comfortable.
These subtle adjustments can make a difference without requiring a dramatic amount of product. I do not add them to every bride’s look. I decide based on your features, preferences, and the overall finish we build together.
Collarbone for Off-Shoulder Dresses
If your dress shows your collarbones, shoulders, or neckline, your highlighter plan may extend below your face. A soft glow on the collarbones can bring your face and skin tone together so everything looks cohesive in photographs. Without it, your face can look luminous while your neckline appears comparatively flat.
I use a light touch here, too. The skin on your neck and chest has a different texture from your face, and too much product can become noticeable quickly. I blend carefully and match the finish to what is happening on your face.
When your dress has an off-the-shoulder or open neckline, remember these points:
- Bring a photo of your dress to your trial so we can plan your neckline and face together.
- Match the glow on your collarbones to the finish on your face.
- Keep the effect soft rather than glittery.
- Consider how your necklace, veil, or hair will sit against the area.
Your bouquet and wedding color palette can also influence the overall makeup look. The goal is not to match every shade exactly, but to choose complementary tones that work with your complexion and wedding colors. For more guidance, read how to match your bridal makeup to your bouquet and color palette.
Avoiding Flashback in Photography
Flashback is the pale, white, or overly bright patch that can appear in photographs taken with flash. It can happen when certain products reflect light back toward the camera more strongly than the surrounding skin. Highlighter is one product that can contribute to an overly reflective finish, which is why I treat photography as part of the planning process from the start.
Here is how I approach it. I prepare your skin carefully, choose products and finishes suited to your skin and wedding setting, and apply highlighter with restraint. I then check the look in different kinds of light because a glow that looks perfect in one room can appear different in another.
For more guidance on light and makeup, see how wedding lighting affects your bridal makeup.
This is also where your photographer can help. If you tell me about your photographer’s style, portrait schedule, and whether flash will be part of the day, I can plan your glow around those details.
Here is a checklist to help reduce the risk of an overly reflective finish in photographs:
- Ask your photographer whether they plan to use flash, and share the answer with me.
- Bring inspiration photos that show the glow you love.
- Take test photos at your trial, with and without flash, and review the results together.
- Use less product in areas that reflect the most light.
- Tell me about any concerns you have with shine in past photographs.
Studio lighting deserves attention, too. Different light sources can change how makeup colors appear, and a shade that looks balanced in one setting may read differently under another. My guide to pigment control and keeping makeup colors true under studio lighting covers the relationship between lighting, pigment, and the final image.
Your trial is the best way to reduce surprises. I strongly recommend one because it lets me test products on your skin, work through adjustments, and make sure you walk into your wedding day knowing what to expect.
It also gives you a chance to tell me about skin sensitivities, previous reactions, or recent treatments so I can plan around them. I do not make blanket claims about how every product will work on every skin type. Testing your actual skin and reviewing the finish under appropriate lighting help us determine what works best for you.
Prepare Your Skin Before the Wedding
Skin preparation supports everything above. I suggest starting a consistent skincare routine at least four weeks before your wedding, staying hydrated in the week before, and avoiding new skincare products or treatments during the final 10 days.
My guide on how to prep your skin 30 days before your wedding lays out the full timeline.
On the morning of your wedding, I begin with skincare, primer, and base preparation, and I take that step slowly on purpose. A prepared surface can help highlighter sit more smoothly and create a more natural-looking finish.
The products and techniques I choose depend on your skin, the makeup look you want, and the conditions you will encounter. If you have concerns about texture, uneven tone, or areas that need additional coverage, we can discuss those during your trial and adjust the application accordingly.
What to Expect From Your Bridal Makeup Artist

Because I am a fully mobile artist, I come to you. I arrive with a complete professional kit, including studio-quality lighting and seating, so I do not have to rely entirely on the room’s natural light. This setup lets me assess your skin clearly and place every product with care.
You also avoid a salon commute, your getting-ready party can stay together, and your timeline can follow the schedule you have planned. Setup typically takes about 15 to 20 minutes before we begin.
For a closer look at the available services, visit my bridal hair and makeup services page.
After your makeup is complete, I use setting techniques intended to help your look wear well throughout the day. Every bride also receives a complimentary touch-up kit with lipstick, powder, and blotting sheets, so a quick refresh is simple when needed.
The goal is to give you a look that photographs beautifully while still feeling comfortable and natural in person. I consider the details together, from your skin preparation and highlighter placement to the light at your venue and your photographer’s plans.
Plan Your Bridal Makeup Today
Your wedding makeup should look beautiful both in person and in photographs. Brittany can discuss your preferred finish, skin concerns, venue, and photography plans to help you plan a look that suits your style.
A bridal trial gives you an opportunity to test your makeup and make adjustments before the wedding day. If you’re traveling to Orange County or San Diego, read this guide to booking a bridal trial as an out-of-town bride. You can also learn how to explain your vision to your makeup artist during a trial to help communicate your preferences.
Browse Brittany’s bridal makeup portfolio for inspiration or learn more about her background and training. Spring and fall weekends in Orange County can book quickly, so reach out once your venue is confirmed. Contact Brittany Brown Beauty to discuss your wedding plans and availability.
Frequently Asked Questions
Start a consistent skincare routine at least four weeks before your wedding. Stay hydrated, especially during the final week. Avoid trying new skincare products or treatments in the last 10 days. On your wedding morning, I begin with skincare and primer. These steps help create a smooth base for your makeup.
Wear time depends on your skin, the weather, and your activity level. I cannot promise a set number of hours. Instead, I use suitable skin preparation, product choices, and finishing techniques to help your glow last. Every bride also receives a complimentary touch-up kit. It includes lipstick, powder, and blotting sheets for quick refreshes throughout the day.
Absolutely. I adjust the placement, amount, and finish to suit each bride. Your features, complexion, skin type, and preferences all guide my approach. Rather than using one fixed look, I tailor the glow to you. During your bridal trial, we can test products and refine the placement before your wedding day.
Yes, you can still enjoy a beautiful glow with oily skin. The key is choosing the right products and placement. I focus on high points, such as the cheekbones, where light naturally falls. Areas prone to excess shine receive a lighter touch. Your trial helps us assess the finish on your skin and in photographs.
Bring photos of your dress and inspiration images showing your preferred glow. Details about your photographer and venue can also help. Please mention any skin sensitivities, past reactions, or recent treatments. These details help me plan the placement around your features and neckline. I can also consider how your makeup may appear in photographs and match your preferred finish.