

A complexion that reads as smooth at conversation distance can look different once the camera moves in tight. Foundation edges show along the jaw. Powder settles into a fine line beside the eye. A forehead that looked balanced in the studio develops a hot spot when the key light is set. In an extreme close-up, small inconsistencies in the makeup become visible, and the result depends on far more than foundation.
Texture-smoothing techniques for extreme close-up shots rely on controlled preparation and thin, deliberate layers. The artist prepares the skin for the chosen products, builds coverage only where needed, and adjusts pigment and finish to suit the lighting. They apply powder selectively and check the makeup on camera at the intended viewing size. The aim is to manage how texture and shine appear on screen, not to remove natural skin texture, which makeup cannot do.
For commercial, editorial, and brand shoots, makeup has to work with the camera setup rather than in isolation. At Brittany Brown Beauty, that means considering how skin, product, lighting, and camera settings interact. The closer the lens gets, the more important those choices become.
Why Close-Ups Demand a Different Level of Precision
Close-up photography and high-resolution video change what the camera can show. Product edges, uneven blending, excess powder, and patchy coverage may go unnoticed at a normal viewing distance but become more visible in close-up shots of the skin.
It helps to separate two kinds of texture. Natural skin texture, including pores, fine lines, and surface variation, belongs to the person and is part of how skin looks. Makeup texture is what the application adds: patchy foundation, powder that has collected in lines, product that has dragged or lifted, and edges that stop abruptly. Close-up work manages natural texture to suit the brief and works to minimize makeup texture. Pores and lines are not defects that must disappear.
Lighting decides how much of either becomes visible. Four variables matter most:
- Angle. Light that skims across the face from the side tends to emphasize surface relief, while light from closer to the lens tends to flatten it.
- Intensity. Stronger light reveals more detail and makes shine and product edges easier to see.
- Color temperature. Warmer or cooler light shifts how skin tone and pigment read, so a complexion can look different from one setup to the next.
- Diffusion. Soft, diffused light is generally more forgiving of texture than hard, direct light, although neither is better for every brief.
Shine, reflection, pigment, and perceived texture are connected. Shine is light reflecting directly off the surface, and on skin with natural texture, that reflection can catch the edges of pores and lines and make them look more pronounced. How much light a surface absorbs, scatters, or reflects depends on the finish and the pigment. Matte finishes tend to scatter more light, and luminous finishes tend to reflect more of it. That is why light absorption matters in practice: the finish changes how texture reads on camera.
None of this means close-up work calls for heavy coverage or a matte finish. Matte, satin, and luminous looks can all work when the products and technique suit the creative brief.
Lighting affects how makeup appears, so artists should check the look under conditions that match the actual shoot. The final output also matters. Large still images, close-up videos, and 4K footage each place different demands on skin preparation and makeup application. Knowing how the final images or footage will be viewed helps the artist plan the right approach.
Techniques That Hold Up
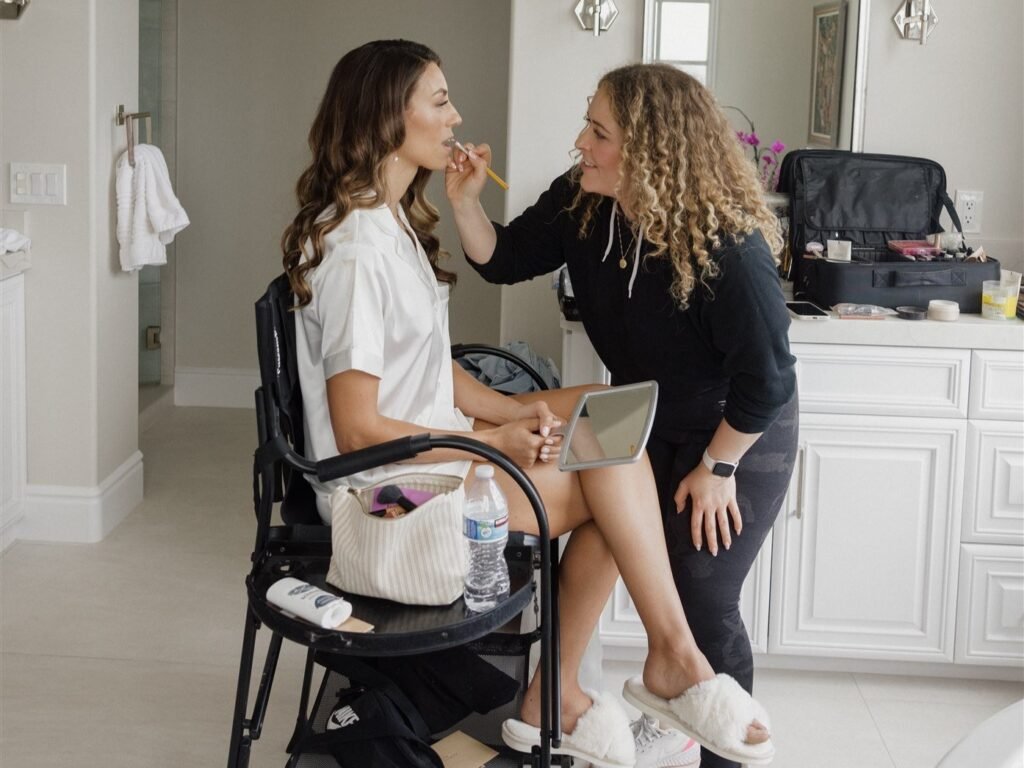
The principles below manage texture while keeping a finish that suits the brief. Each one depends on the skin, the products, and the production conditions, and none of them replaces testing.
Priming for a Smooth Canvas
Primer can support makeup application in close-up work by giving foundation a more even surface to spread over. It does not erase skin texture and cannot guarantee a fully smooth result. What it can do is help the next product apply and sit more consistently.
- Match preparation to the skin and the finish. Skin condition and the planned makeup finish should guide what goes on the skin, not a fixed routine.
- Watch the amount and placement. The amount of primer and its placement affect how foundation spreads and sits, and too much primer can leave a slippery surface.
- Avoid stacking products. Layering several skincare and priming products can create an inconsistent surface or interfere with the product that follows.
- Let products settle. Give each layer appropriate time to settle before adding foundation, adjusted to the products being used.
- Test the combination. Primer should be tried with the intended foundation and under the planned lighting, since no single primer type suits every skin or every look.
Layering Product Without Building Texture
Controlled application keeps the complexion even under magnification. Foundation goes on in thin, controlled layers instead of one heavy application, and coverage is built only where it is needed. A thin layer is easier to blend, shows fewer edges, and leaves areas that already look balanced alone.
- Blend every edge. Transitions that look soft in person can show as visible lines at close range, so the edges of foundation and concealer need particular attention.
- Choose coverage and finish for the brief. Skin condition, the creative direction, and the planned lighting should decide how much coverage is used and what finish it has.
- Use corrective makeup selectively. Targeted correction works best where it is needed, without covering areas that already look balanced.
- Check how products interact. Concealer, foundation, and other complexion products affect each other, so they should be assessed together instead of one at a time.
Pigment control is part of this. The amount, placement, and blending of pigment influence how a complexion reads under different lighting. Too much pigment in one place can look dense, while too little can leave areas uneven. Pigment is only one factor, though. Lighting, lens, exposure, and processing also affect how cameras reproduce color, so no layering method can guarantee identical results across cameras and lighting setups or eliminate texture.
Setting Without Emphasizing Pores or Fine Lines
Setting helps hold complexion makeup in place, and it is where close-up problems can begin. The artist applies powder selectively, according to where shine is a problem, where they place product, and what finish the brief calls for, instead of applying it across the whole face by default.
- Use powder only where it is needed. Too much powder can become visible or emphasize texture in certain lighting.
- Consider what is underneath. Setting products interact with the foundation and concealer below them, so the combination needs to be checked together.
- Control shine without removing luminosity. Reducing unwanted shine is different from removing every trace of natural skin glow, and many briefs want some luminosity to remain.
- Evaluate on camera. The amount and placement of setting product should be judged through the lens, not only by eye.
- Touch up for the real issue. A touch-up should address what is actually happening, whether that is shine, a displaced edge, or dryness, instead of automatically adding more powder.
Durability across a shoot day depends on the skin, products, conditions, and length of the day, so the artist plans for sustained durability but cannot guarantee it under every circumstance, including heat, sweat, or changing lighting.
What This Looks Like on 4K Playback

A makeup check that ends at the makeup chair or at the camera’s standard preview can miss problems that appear at full size. The review needs to happen at a viewing size and under lighting that match the intended output.
A practical camera-review checklist:
- Review test images or footage at an appropriate viewing size, not only on a small monitor.
- Check foundation edges, uneven texture, visible powder, unwanted shine, and color consistency.
- Evaluate the complexion under the planned lighting, not just the room’s ambient light.
- Compare a still image with moving footage, since expression and movement can change how makeup looks.
- Make targeted adjustments instead of adding more product automatically.
- Talk with the photographer, cinematographer, or creative team if the finish needs to change for the intended output.
There are technical limits worth stating clearly. High resolution does not make every skin detail equally visible in every shot. Lens choice, focus, lighting, exposure, image processing, and viewing conditions all influence what shows. Makeup alone cannot compensate for unsuitable lighting, camera settings, or post-production requirements, so it works best as one part of a coordinated plan.
Production clients assessing an artist can start with finished work. The portfolio shows finished work, and a conversation about the project fills in how Brittany Brown’s approach would apply to a specific brief.
Discuss Your Production Requirements
The makeup approach for a close-up project starts with the details: the creative brief, the lighting, the camera output, the complexion finish you want, and the production schedule. Sharing those early lets the makeup plan address texture, shine, and finish before the shoot. The commercial makeup services from Brittany Brown Beauty cover Orange County and surrounding areas, and clients can send project details through the contact page.Click the button below to discuss your project.
Frequently Asked Questions
Artists build them around a camera, lighting setup, and output, then check makeup against them. Artists plan bridal makeup around in-person viewing and photographs across a long day. Close-up production work emphasizes edge blending, controlled product amounts, and on-camera review.
Expect a discussion of the brief, output, lighting setup, schedule, and required finish before the shoot day. Those details shape the makeup approach, and sharing them early helps the artist plan. Confirm specific rates, requirements, and inclusions directly with the artist.
Adjustments follow how light affects the skin. Hard or angled light may call for careful blending and less powder, while diffused light may allow a different finish. Test under the planned lighting and review on camera, because room light does not show what the lens will.
No. Makeup can soften texture and shine through preparation, thin layers, and controlled setting, but cannot remove natural skin texture. Lens, focus, lighting, exposure, and processing also affect what the camera shows, so no one can promise texture-free skin.
The brief sets the balance. The artist keeps product thin enough to avoid visible makeup texture, sets selectively to control shine, and leaves natural detail where the creative direction calls for it. Durability over a shoot day depends on skin, products, and conditions, and we plan touch-ups around what the camera shows.